I discovered the art of embroidery in July, and since then, I’ve been following patterns and embroidery kits I’ve bought from Etsy. I’ve tried to design my own hoops twice, with one of those times ending in absolute disaster, as you can see here. But now that I’ve gotten a bit better at it, I thought it was time to try to create a new design again.
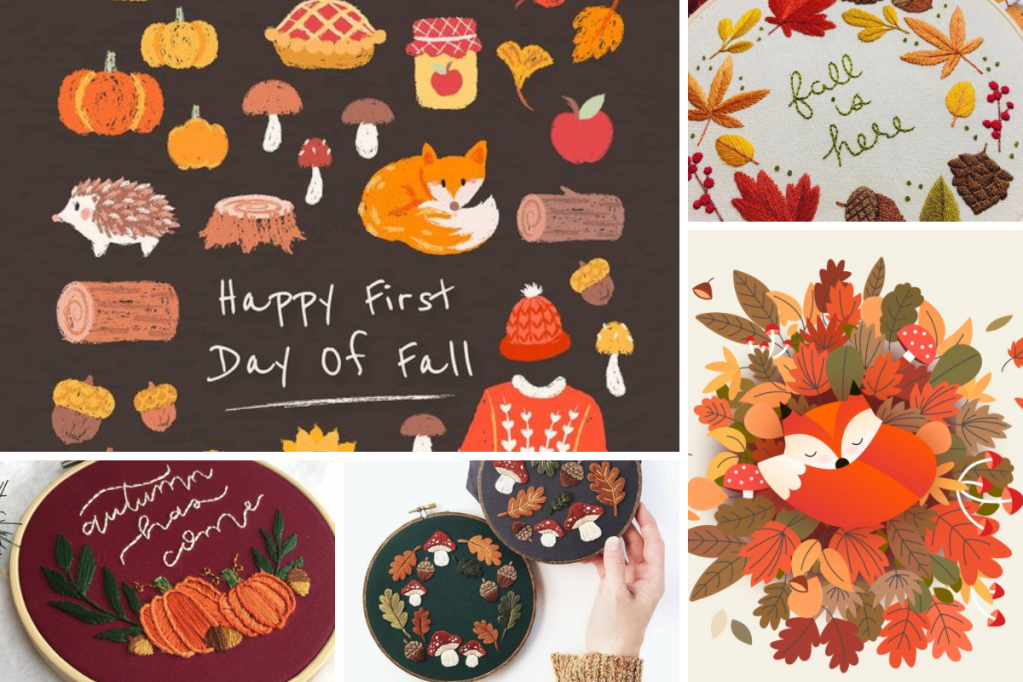
I did a quick research on Pinterest and Etsy for autumn embroideries, and most of them had a few things in common: there were foxes, pumpkins and oak leaves, with the occasional red mushrooms and acorns. I wanted to do a traditional autumn embroidery, so I decided to include all of the typical elements.
Step 1: Inspiration
As your average autumn girl, I love foxes, even though I’ve only seen one in the wild. When I was living in the outskirts of London, I saw a fox running around my neighbour’s garden. It was the cutest animal I’ve ever seen. I still live in England, but I moved to a big city, and the only animals I see are squirrels (which are extremely cute).
I used a combination of illustrations and embroideries as inspiration to create my design. I knew which elements I wanted to include and that the fox and pumpkins should be the main focus of the hoop.
Step 2: Designing
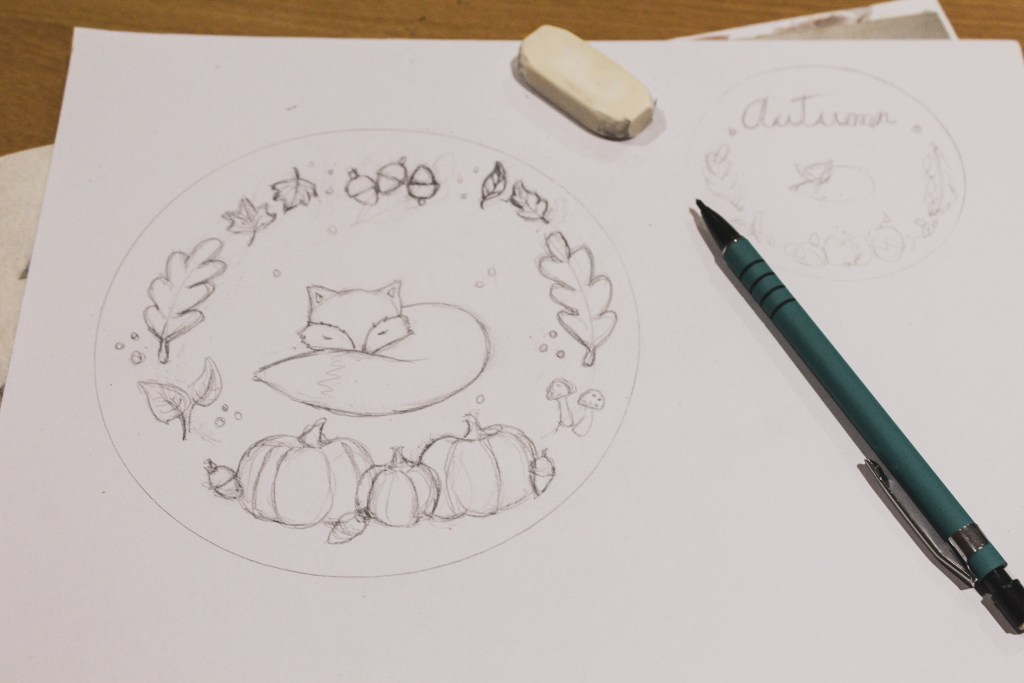
With my inspiration ready, designing the embroidery was pretty quick. I struggled when deciding if I should have the word “autumn” at the top, but in the end, I felt it would break the harmony of the design.
Step 3: Choosing the colour palette
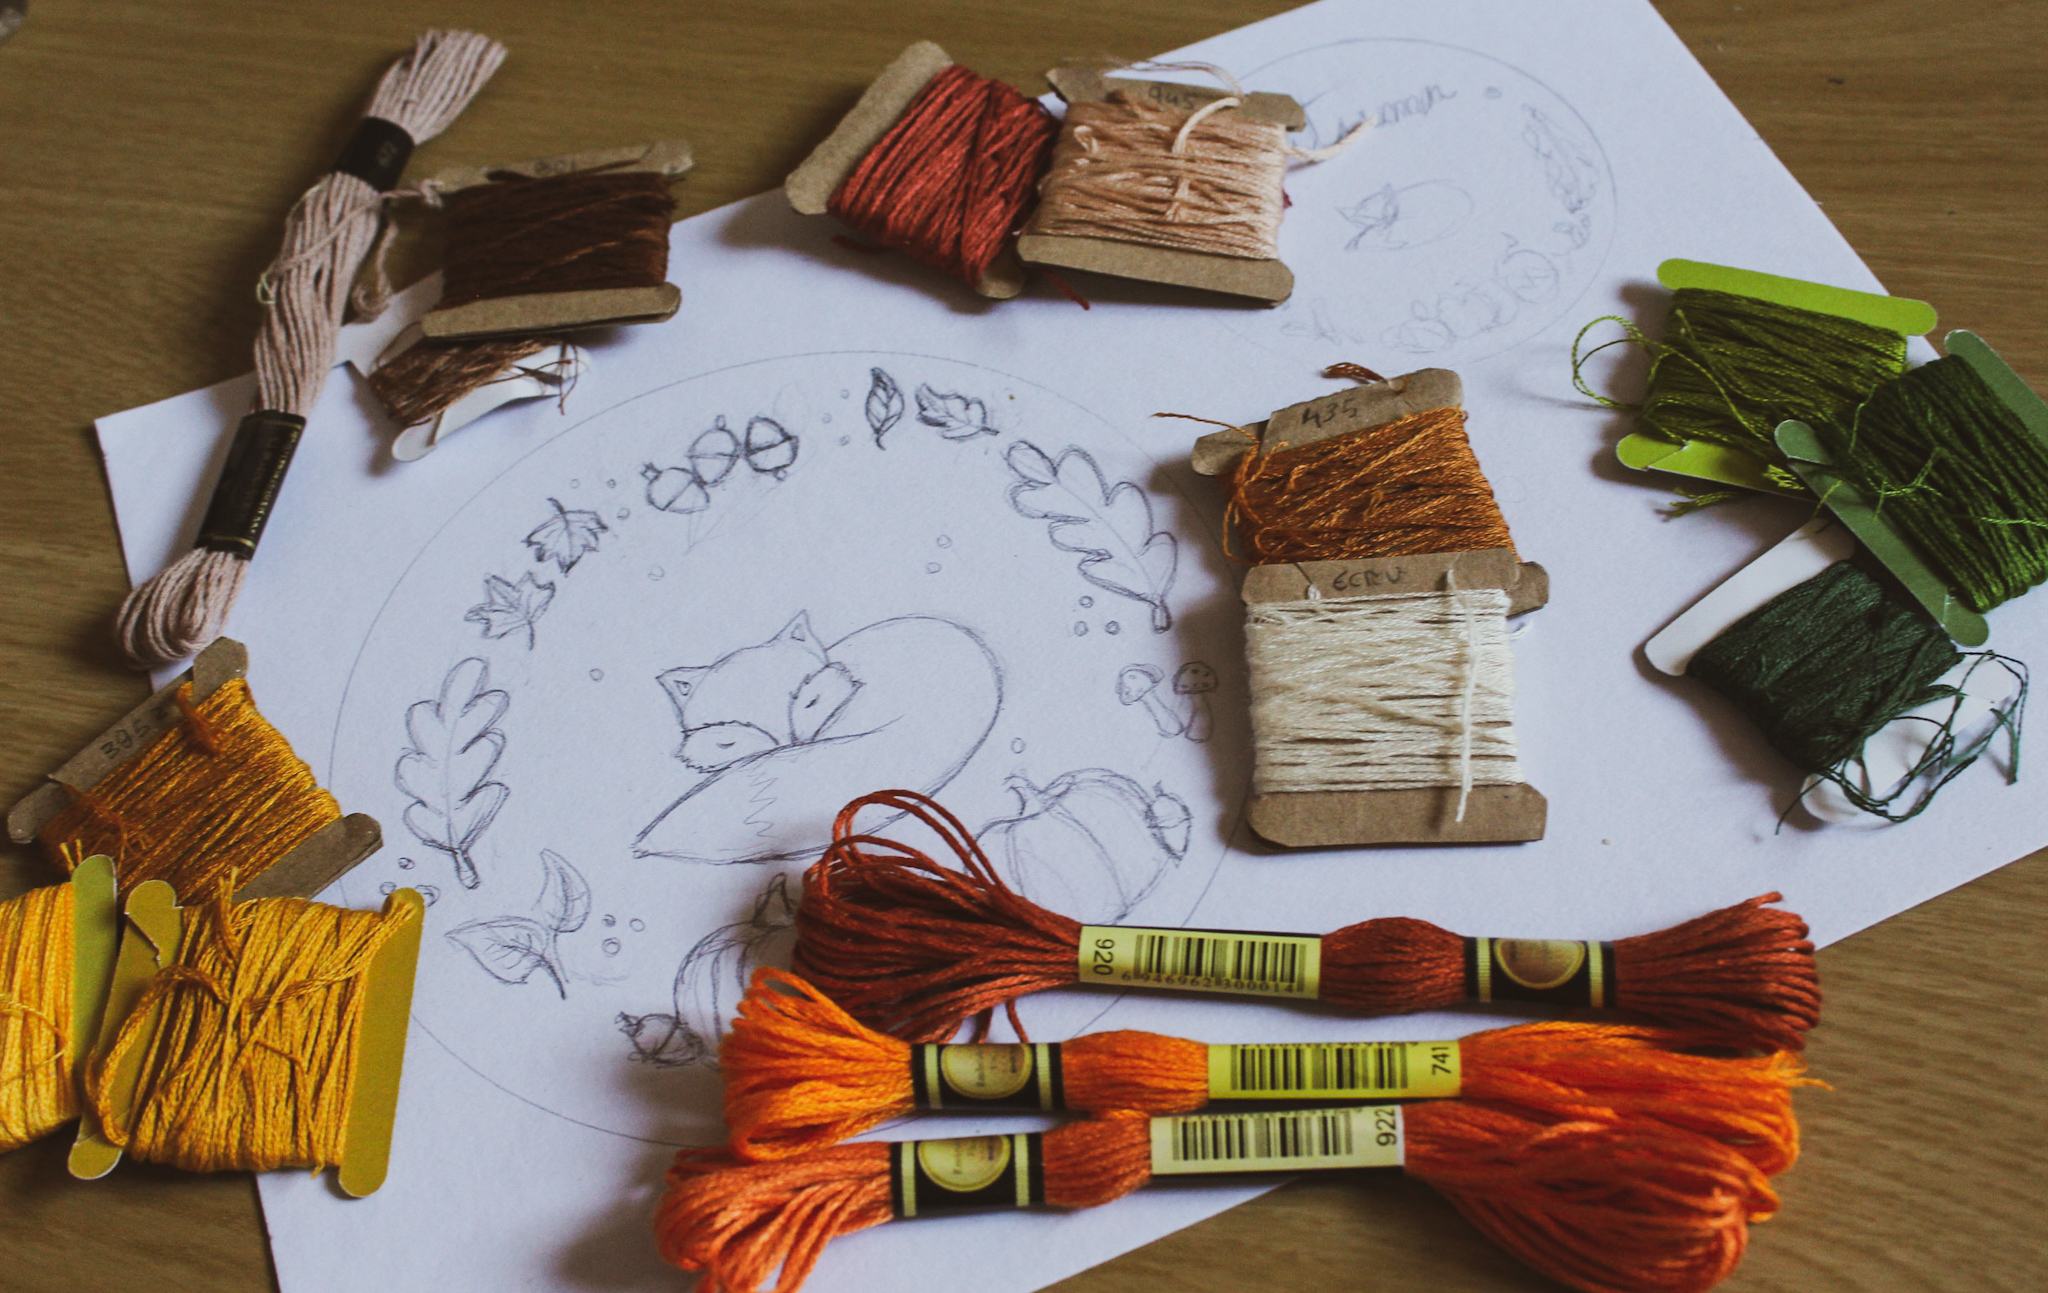

As this is an autumn embroidery, the colour palette was obvious, it needed splashes of orange, brown, yellow and a bit of green. The hardest part was finding colours that had similar tones and worked well with one another. Which is something I like about embroidery kits; someone has already taken the time to preselect the threads to create the perfect combination.
Step 4: Choosing the stitches

Figuring out which stitches to use is the hardest part for an inexperienced embroiderer like me. For this design, I stuck to the stitches I know: satin stitch for the leaves and pumpkins, french knot for the acorns and small berries flying around, short and long stitch for the fox and a chain stitch to add volume to the pumpkins.
Step 5: Embroider!

I still struggle to predict what the embroidery is going to look like. I’m used to drawing and painting, and I have more control over what the finished piece will be like. But for embroidery, I still need to learn to know whether the stitches and colours are going to work, which I think in this case they do? I’m not sure!
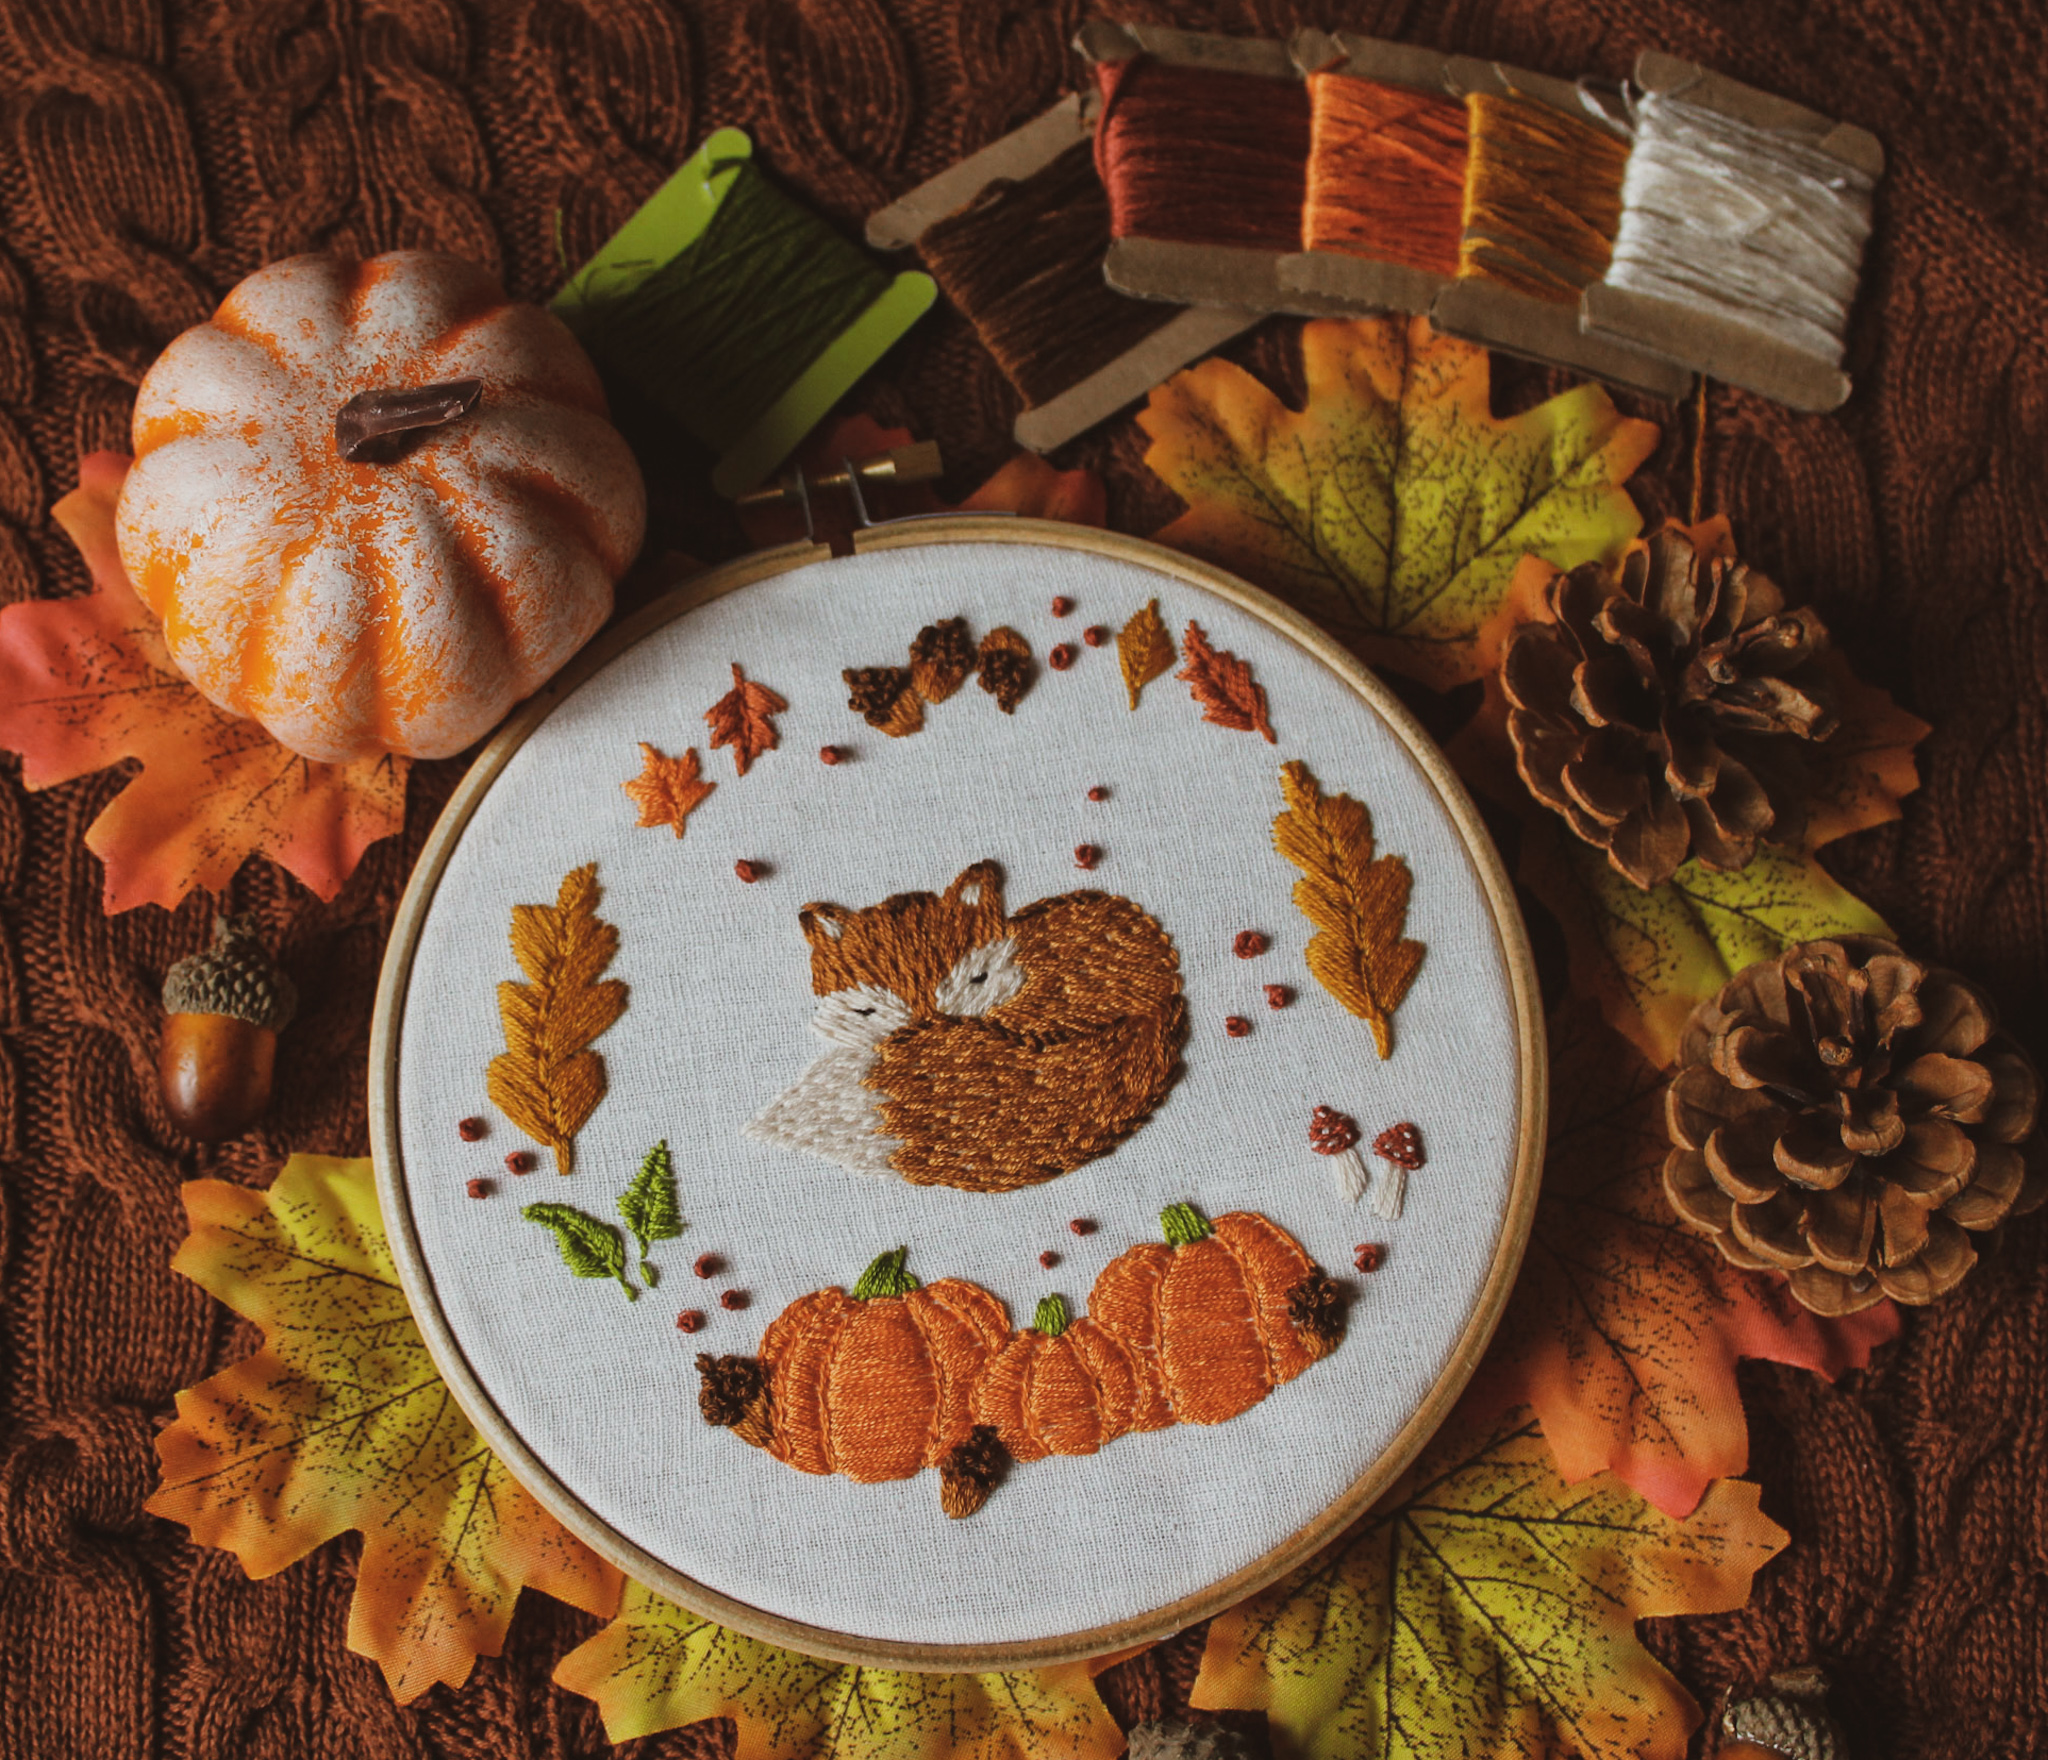

I’m not a 100% happy with the embroidery, but I don’t hate it either. I think I prefer using embroidery kits and patterns because someone has already done the groundwork of figuring out which stitches and colours work best for each element. Still, when I’m following someone else’s pattern, I miss the creativity of designing my own.
I’m already planning my next project, it’s a Halloween embroidery following a pattern I bought on Etsy, so hopefully, the result will be good!

You must be logged in to post a comment.